As part of Day 18 of my 100 Days of Learning I wanted to upgrade my Home Assistant setup to run from an external SSD. There is a well known issue that SD cards on Raspberry Pis corrupt after a while and also I didn’t want Home Assistant to fill up the SD card too quickly.
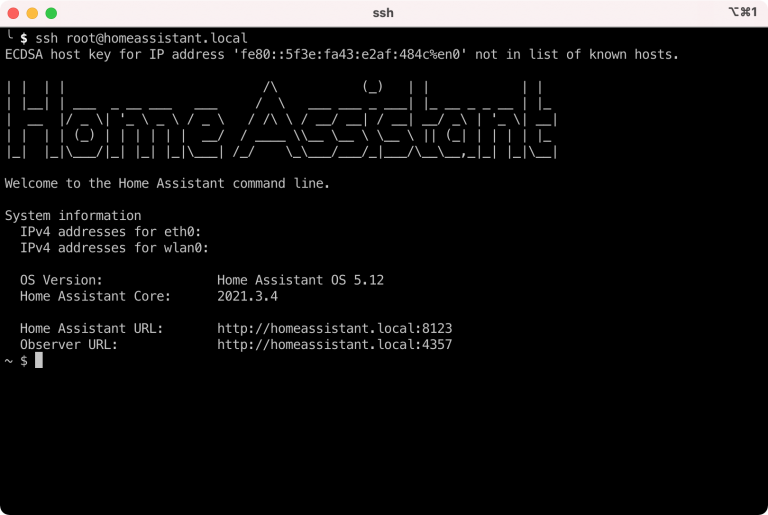
I am running Home Assistant on a Raspberry Pi 3B and I would like to be able to SSH into it. By default the Home Assistant OS does not have SSH enabled and you need to install an add-on to be able to do this.
$ ssh homeassistant.local
ssh: connect to host homeassistant.local port 22: Connection refused
You need to install an add-on to get SSH working. But first you need to enable Advanced mode so that extra add-ons can be searched for on the dashboard.
To install the add-on go to the Supervisor Add-on Store and search for ssh.
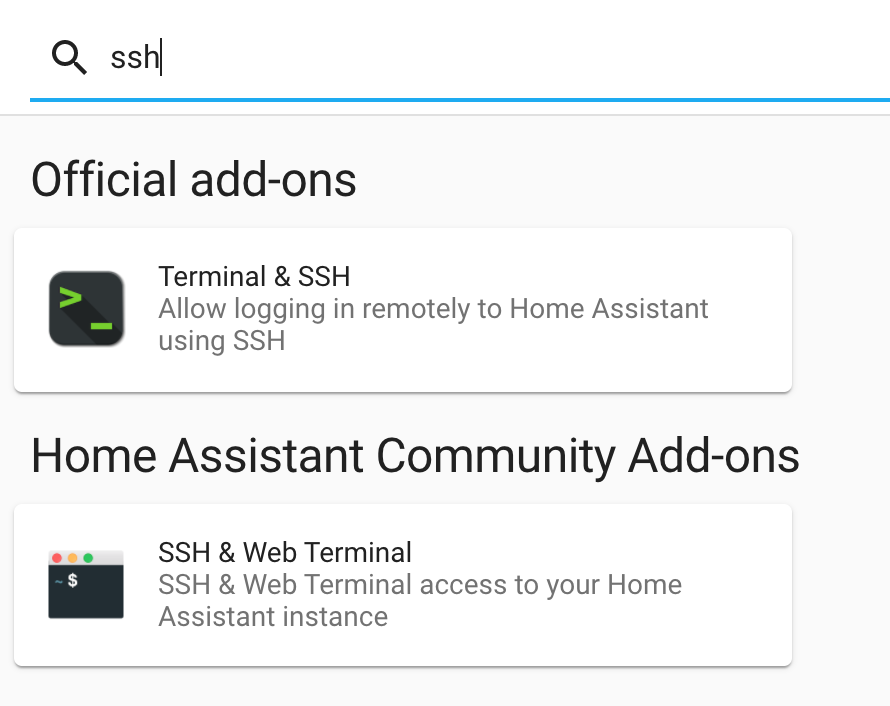
I am installing the Official "Terminal & SSH" add-on because the community one’s security rating is pretty low.
Enabled the Watchdog and Show in sidebar.
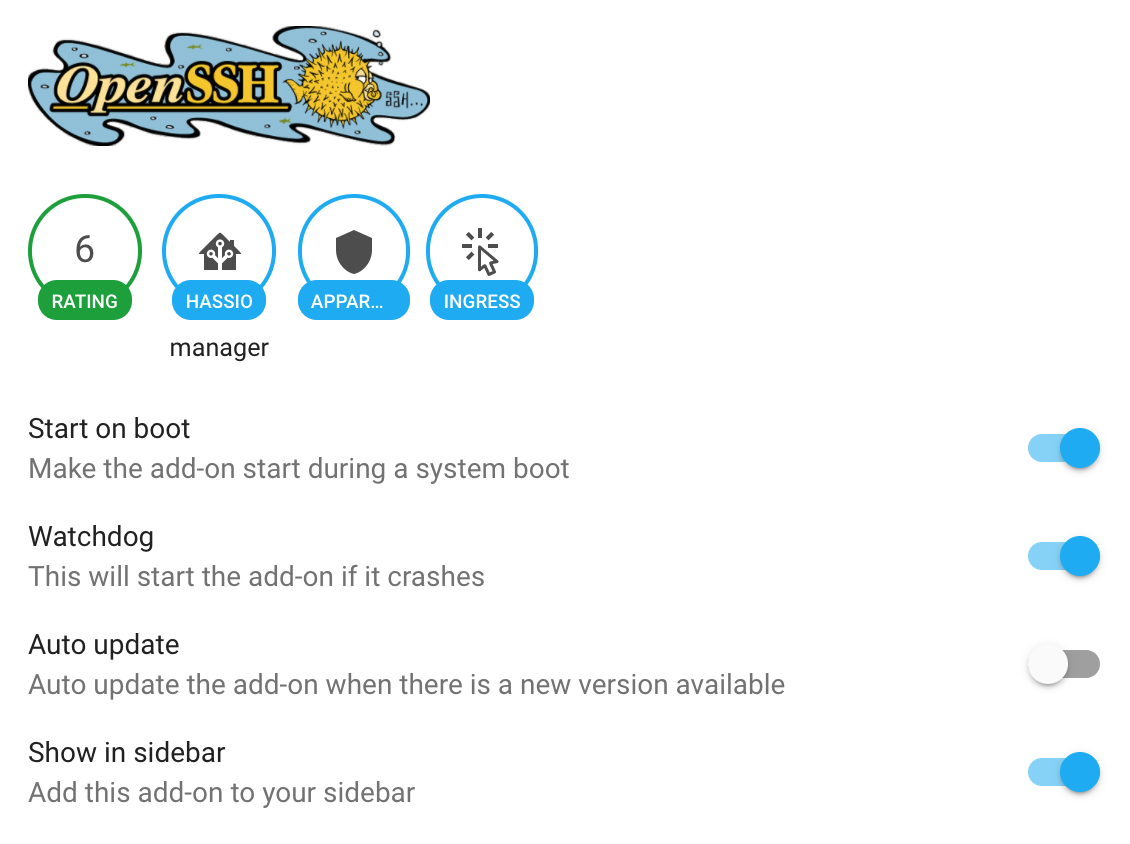
Interestingly this comes with a web terminal.
Remote SSH access from the network is disabled by default. +10 in my book.
I will generate a new SSH key pair to be used only with Home Assistant and this Raspberry Pi.
$ ssh-keygen -t rsa -b 4096 -f ~/.ssh/id_rsa_homeassistant -C "Home Assistant RPi"

Generating public/private rsa key pair.
Enter passphrase (empty for no passphrase):
Enter same passphrase again:
Your identification has been saved in /Users/nick/.ssh/id_rsa_homeassistant
Your public key has been saved in /Users/nick/.ssh/id_rsa_homeassistant.pub
The key fingerprint is:
SHA256:HR9hXliHl1LTVDz6tMAMaZuQtCdc/Ww3edVm7QCO5Lk Home Assistant RPi
The key's randomart image is:
+---[RSA 4096]----+
|        ..o.*++*X|
|        .=oX.=o+@|
|         +B.X =*+|
|         .o* * B+|
|        S E . = =|
|               o |
|                 |
|                 |
|                 |
+----[SHA256]-----+

# Added this to my Mac's keychain
$ ssh-add -K ~/.ssh/id_rsa_homeassistant
Added the newly created id_rsa_homeassistant and .pub file to my password manager.
Interestingly enough I have always wondered about what this randomart is about and it turns out that it is supposed to be a visual way for humans to identify if the server you are connecting to is what you would expect. However I have never seen this other than during the key generation phase.
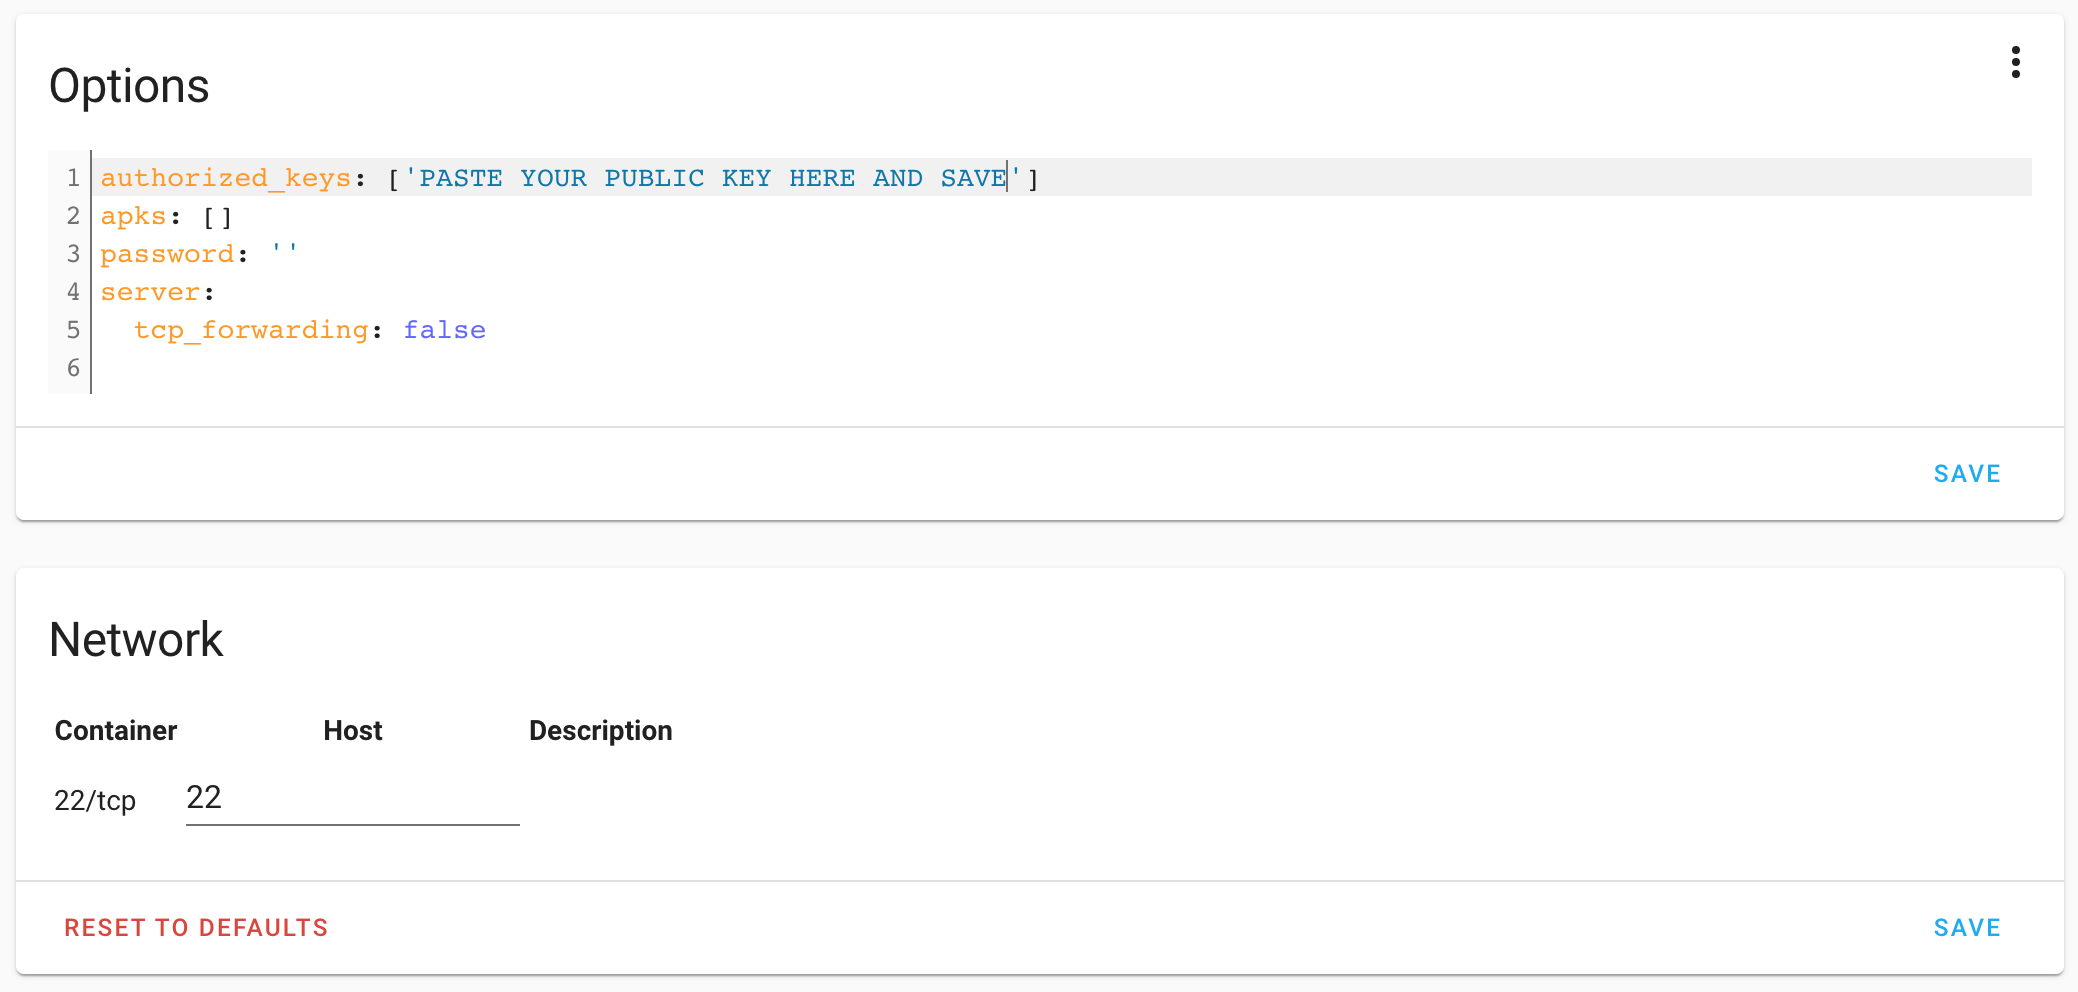
Configure the SSH server. Go to the Configuration tab for the add-on.
# First you will need to copy the PUBLIC key
$ cat ~/.ssh/id_rsa_homeassistant.pub | pbcopy
Add the public key to the authorized_keys section and save. To expose the port from the docker container to the host OS enter a port number in the Network section and save.

Check the log tab to confirm it is working on Home Assistant.
[10:37:38] INFO: Starting the SSH daemon...
Server listening on 0.0.0.0 port 22.
Server listening on :: port 22.
Connect using SSH. I like to have a SSH key pair per host I connect to and thus for the initial test connection I specify the key to use (option -i) before I add this to my ~/.ssh/config file. Because of my config I need to also tell ssh to use the publickey or the connections will be denied. As a bonus I figured I would give this visual randomart thing a try as well (-o VisualHostKey=yes).
ssh -i ~/.ssh/id_rsa_homeassistant -o PreferredAuthentications=publickey -o VisualHostKey=yes root@homeassistant.local
Host key fingerprint is SHA256:JZAoyO9P3NZLj4N32G+Z6daVq7N1GDS61vQvnuyI/OU
+--[ED25519 256]--+
|.. ... |
|... . .. |
| .. . . o |
| . o o . |
| . . . S . o .|
| . o o o + =.|
| o . o * o O.=|
| . . B * %o+o|
| . =.BBE..|
+----[SHA256]-----+
| | | | /\ (_) | | | |
| |__| | ___ _ __ ___ ___ / \ ___ ___ _ ___| |_ __ _ _ __ | |_
| __ |/ _ \| '_ \ _ \ / _ \ / /\ \ / __/ __| / __| __/ _\ | '_ \| __|
| | | | (_) | | | | | | __/ / ____ \\__ \__ \ \__ \ || (_| | | | | |_
|_| |_|\___/|_| |_| |_|\___| /_/ \_\___/___/_|___/\__\__,_|_| |_|\__|
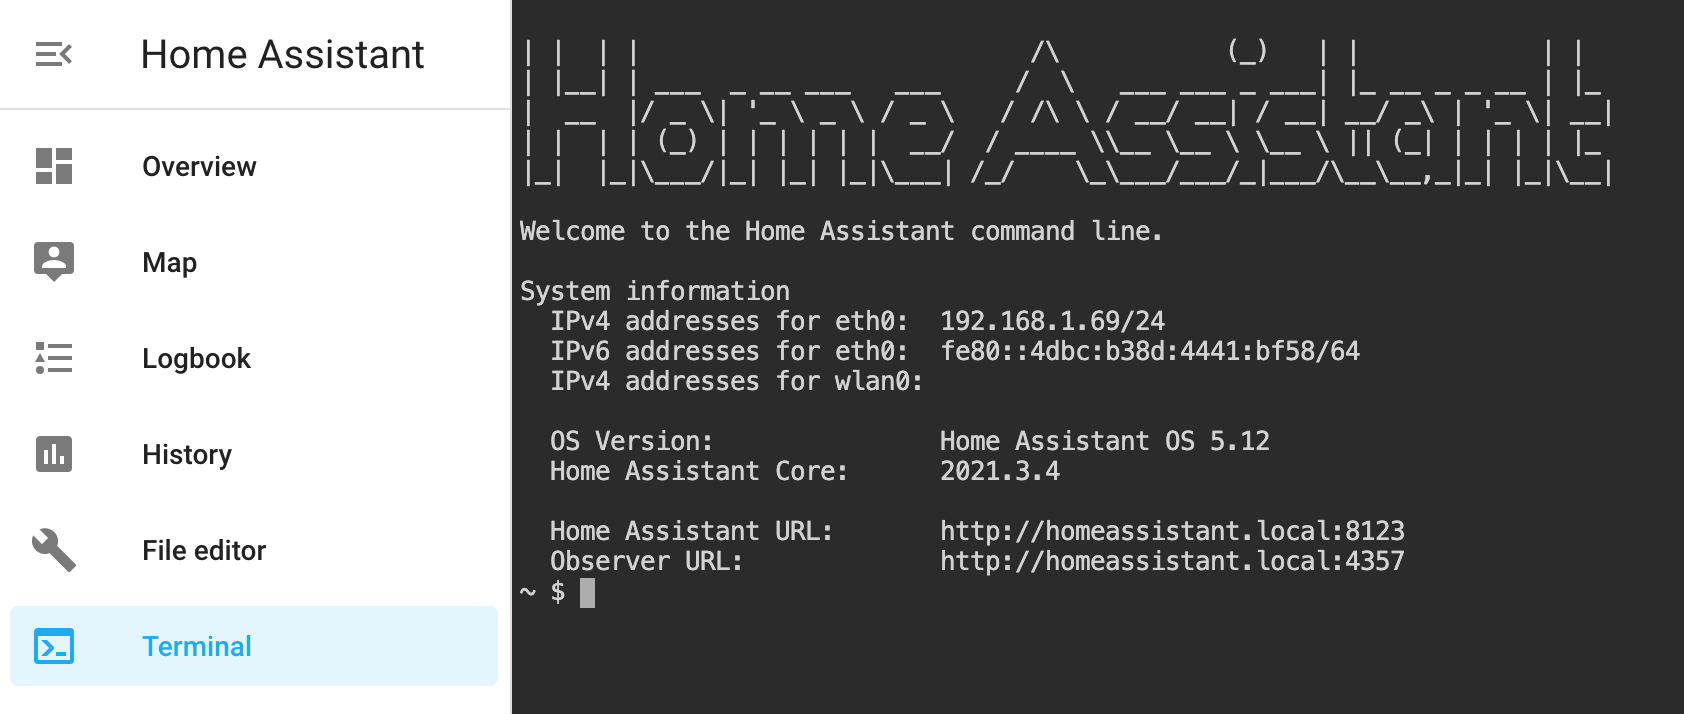
Welcome to the Home Assistant command line.
System information
IPv4 addresses for eth0: 192.168.0.160/24
IPv6 addresses for eth0: fe80::4bb1:48f:516c:b4b8/64
IPv4 addresses for wlan0:
OS Version: Home Assistant OS 7.6
Home Assistant Core: 2022.4.2
Home Assistant URL: http://homeassistant.local:8123
Observer URL: http://homeassistant.local:4357
[core-ssh ~]$Ok that worked so I can now add it to my ~/.ssh/config so that the command just becomes ssh root@homeassistant.local from now on.
# ~/.ssh/config

# Home Assistant running on Rasperry Pi
Host homeassistant.local
	HostName homeassistant.local
	PreferredAuthentications publickey
	IdentityFile ~/.ssh/id_rsa_homeassistant
	IdentitiesOnly yes
  VisualHostKey=yes
	Port 22
After that worked I changed the port number in the Configuration tab as well as my ~/.ssh/config file. I rarely use default ports.