
In a nutshell the Starship Prompt is a program and a collection of scripts that allows you to customize and enhance the command prompt beyond what it was originally intended for. Not only will you be able to change colors and display special fonts, but add additional qol features useful for people who spend a lot of time working within the command prompt.
To further clarify - when I mentioned the command prompt, I don't just mean the Windows Command Interpretor or PowerShell, I'm also refering to Bash, Zsh, and a few other supported shells thus making Starship Prompt cross-platform. However for the scope of this guide we'll be focusing on the command prompts within the Windows Platform - PowerShell and Cmd.
From the github page below click on "Latest" on the right side of the page. Scroll down to Assets and download the patched fonts you want to use. Hack, InconsolataLGC, Cascadia Code are all good choices.
Unzip the fonts anywhere on your C:\ drive. Then using the Ctrl key, individually select the fonts with "Windows Compatible" in the name, right click and choose "Install for all Users" from the context menu.
Tip: Instead of right clicking on each font file and installing one by one, in the Windows Search bar type in "Windows" and it will automatically show only the fonts with "Windows" in the name. You can then select all the font files and install to "All Users" in one go.
With most recent versions of Windows the Windows Terminal comes pre-installed. If you're using an earlier version of Windows 10 or something older you may need to manually install the Windows Terminal by different means. Assuming you're using a recent version of Windows, open up the Microsoft Store App and verify you have the latest version of Windows Terminal installed.
While you have the Store App open, type in "powershell" in the search bar to install the latest version PowerShell (the icon should look Dark Blue). You also have the option to install the Preview Version of PowerShell which will have new and additional features over the standard versions along with bugfixes.
Open up the Windows Terminal, goto Settings and make the Newer PowerShell the default profile shell. While in Settings click on the newer PowerShell from the left pane and scroll down and click on Appearance. Under Font face, change the font to Hack NF or whichever Nerd font you prefer. Below that change the font size as you may need to enlarge it to atleast 12. You can also scroll down and turn on Transperency to 60 percent or so.
Open up a Powershell in Administrative mode (type powershell in the windows search bar, select "Run as Administrator" from the results pane) and then run the following commands:
>Set-ExecutionPolicy -ExecutionPolicy RemoteSigned -Scope CurrentUser
>New-Item -path $profile -type file -force
>echo $Profile
C:\Users\Stage\Documents\PowerShell\Microsoft.PowerShell_profile.ps1
The last command should show the path to PowerShell's rc file. Which should be located:
%USERPROFILE%\Documents\PowerShell\Microsoft.PowerShell_profile.ps1
This is important as we'll need it to configure PowerShell and other tools needed later. You can close the Administrator PowerShell prompt for now.
Go ahead and now launch Windows Terminal... it should open with the latest PowerShell version. The text should appear nice and clean with the Nerd Fonts we installed earlier.
Run the following commands to install the Starship Prompt along with the tools mentioned earlier:
>iwr -useb get.scoop.sh | iex
Initializing...
Downloading...
Creating shim...
Adding ~\scoop\shims to your path.
Scoop was installed successfully!
Type 'scoop help' for instructions.

>scoop install aria2
Installing 'aria2' (1.37.0-1) [64bit] from 'main' bucket
aria2-1.37.0-win-64bit-build1.zip (2.4 MB) [================================================================================================] 100%
Checking hash of aria2-1.37.0-win-64bit-build1.zip ... ok.
Extracting aria2-1.37.0-win-64bit-build1.zip ... done.
Linking ~\scoop\apps\aria2\current => ~\scoop\apps\aria2\1.37.0-1
Creating shim for 'aria2c'.
'aria2' (1.37.0-1) was installed successfully!

>scoop config aria2-warning-enabled false
'aria2-warning-enabled' has been set to 'false'

>scoop bucket add extras
Checking repo... OK
The extras bucket was added successfully.

>scoop install extras/vcredist2022
Installing 'vcredist2022' (14.44.35211.0) [64bit] from 'extras' bucket
Starting download with aria2 ...
Download: Download Results:
Download: gid   |stat|avg speed  |path/URI
Download: ======+====+===========+=======================================================
Download: ff9547|OK  |   1.9MiB/s|C:/Users/Stage/scoop/cache/vcredist2022#14.44.35211.0#6fc12d9.exe
Download: 3223a7|OK  |   3.5MiB/s|C:/Users/Stage/scoop/cache/vcredist2022#14.44.35211.0#40f6987.exe
Download: Status Legend:
Download: (OK):download completed.
Checking hash of vc_redist.x64.exe ... ok.
Checking hash of vc_redist.x86.exe ... ok.
Linking ~\scoop\apps\vcredist2022\current => ~\scoop\apps\vcredist2022\14.44.35211.0
Running post_install script...done.
'vcredist2022' (14.44.35211.0) was installed successfully!
Notes
-----
You can now remove this installer with 'scoop uninstall vcredist2022'

>scoop uninstall vcredist2022
Uninstalling 'vcredist2022' (14.44.35211.0).
Unlinking ~\scoop\apps\vcredist2022\current

>scoop install starship
Installing 'starship' (1.23.0) [64bit] from 'main' bucket
Starting download with aria2 ...
Download: Download Results:
Download: gid   |stat|avg speed  |path/URI
Download: ======+====+===========+=======================================================
Download: 8f1f15|OK  |   1.1MiB/s|C:/Users/Stage/scoop/cache/starship#1.23.0#d3fe019.zip
Download: Status Legend:
Download: (OK):download completed.
Checking hash of starship-x86_64-pc-windows-msvc.zip ... ok.
Extracting starship-x86_64-pc-windows-msvc.zip ... done.
Linking ~\scoop\apps\starship\current => ~\scoop\apps\starship\1.23.0
Creating shim for 'starship'.
'starship' (1.23.0) was installed successfully!
Notes
-----
Usage: Add 'Invoke-Expression (&starship init powershell)' to the end of your PowerShell $PROFILE.
Prerequisites: A Powerline font installed and enabled in your terminal.
'starship' suggests installing 'extras/vcredist2022'.
Now close Windows Terminal along with PowerShell.
Using your favorite text editor open up %PROFILE%\Documents\PowerShell\Microsoft.PowerShell_profile.ps1
Add the following code to enable Starship:
$ENV:STARSHIP_CONFIG = "$HOME\Documents\PowerShell\starship.toml"
Invoke-Expression (&starship init powershell)
Save the changes but leave the rc file open in the editor as we'll need to edit it again soon.
In the same directory (%PROFILE%\Documents\PowerShell) create another text file and save it as "starship.toml".
This file will be your Starship config file which you'll have the ability to save custom settings.
Again with your favorite text editor you can now add your own settings. Eg:
"$schema" = 'https://starship.rs/config-schema.json'

[character]
error_symbol = '[✗](bold red)'

[cmd_duration]
min_time = 250
Launch Windows Terminal again and PowerShell should start with the Starship prompt. Congratulations if you made this far!
Once you use Fzf and PSFzf you'll wonder why you haven't been using it your whole life. It's really good. We'll first need to install a dependency to get everything working properly.
Verify you have PSReadline installed (already):
>Get-Module PSReadline

ModuleType Version    Name                                ExportedCommands
---------- -------    ----                                ----------------
Script     2.0.0      PSReadLine                          {Get-PSReadLineKeyHandler, Get-PSReadLineOption, Remove-PS...
If you get an error running the above command you may need to install PSReadline:
>Install-Module -Name PSReadline -Scope CurrentUser -Force
Optionally try this alternative command to install PSReadline:
>Install-Module -Name PSReadline -Repository PSGallery -Force
Install Fzf and PSFzf:
>scoop install fzf psfzf
Installing 'fzf' (0.65.2) [64bit] from 'main' bucket
Starting download with aria2 ...
Download: Download Results:
Download: gid   |stat|avg speed  |path/URI
Download: ======+====+===========+=======================================================
Download: cb59ef|OK  |   1.2MiB/s|C:/Users/Stage/scoop/cache/fzf#0.65.2#7686d85.zip
Download: Status Legend:
Download: (OK):download completed.
Checking hash of fzf-0.65.2-windows_amd64.zip ... ok.
Extracting fzf-0.65.2-windows_amd64.zip ... done.
Linking ~\scoop\apps\fzf\current => ~\scoop\apps\fzf\0.65.2
Creating shim for 'fzf'.
'fzf' (0.65.2) was installed successfully!
Installing '7zip' (25.01) [64bit] from 'main' bucket
Starting download with aria2 ...
Download: Download Results:
Download: gid   |stat|avg speed  |path/URI
Download: ======+====+===========+=======================================================
Download: 8e1506|OK  |   1.2MiB/s|C:/Users/Stage/scoop/cache/7zip#25.01#e28160e.msi
Download: Status Legend:
Download: (OK):download completed.
Checking hash of 7z2501-x64.msi ... ok.
Extracting 7z2501-x64.msi ... done.
Linking ~\scoop\apps\7zip\current => ~\scoop\apps\7zip\25.01
Creating shim for '7z'.
Creating shim for '7zFM'.
Making C:\Users\Stage\scoop\shims\7zfm.exe a GUI binary.
Creating shim for '7zG'.
Making C:\Users\Stage\scoop\shims\7zg.exe a GUI binary.
Creating shortcut for 7-Zip (7zFM.exe)
Persisting Codecs
Persisting Formats
Running post_install script...done.
'7zip' (25.01) was installed successfully!
Notes
-----
Add 7-Zip as a context menu option by running:
reg import "C:\Users\Stage\scoop\apps\7zip\current\install-context.reg"
Installing 'psfzf' (2.7.2) [64bit] from 'extras' bucket
Starting download with aria2 ...
Download: Download Results:
Download: gid   |stat|avg speed  |path/URI
Download: ======+====+===========+=======================================================
Download: c42fea|OK  |   1.4MiB/s|C:/Users/Stage/scoop/cache/psfzf#2.7.2#37995b5.nupkg
Download: Status Legend:
Download: (OK):download completed.
Checking hash of psfzf.2.7.2.nupkg ... ok.
Extracting psfzf.2.7.2.nupkg ... done.
Running pre_install script...done.
Linking ~\scoop\apps\psfzf\current => ~\scoop\apps\psfzf\2.7.2
Adding ~\scoop\modules to your PowerShell module path.
Installing PowerShell module 'PSFzf'
Linking ~\scoop\modules\PSFzf => ~\scoop\apps\psfzf\current
'psfzf' (2.7.2) was installed successfully!
Verify installation and binary path:
>Get-Command fzf*.exe

CommandType     Name                                               Version    Source
-----------     ----                                               -------    ------
Application     fzf.exe                                            0.0.0.0    C:\Users\Stage\scoop\shims\fzf.exe
>Import-Module psfzf
>Get-Module psfzf

ModuleType Version    PreRelease Name                                ExportedCommands
---------- -------    ---------- ----                                ----------------
Script     2.7.2                 psfzf                               {Enable-PsFzfAliases, Invoke-FuzzyEdit, Invoke-FuzzyFasd, Invoke-FuzzyGitStatus…}
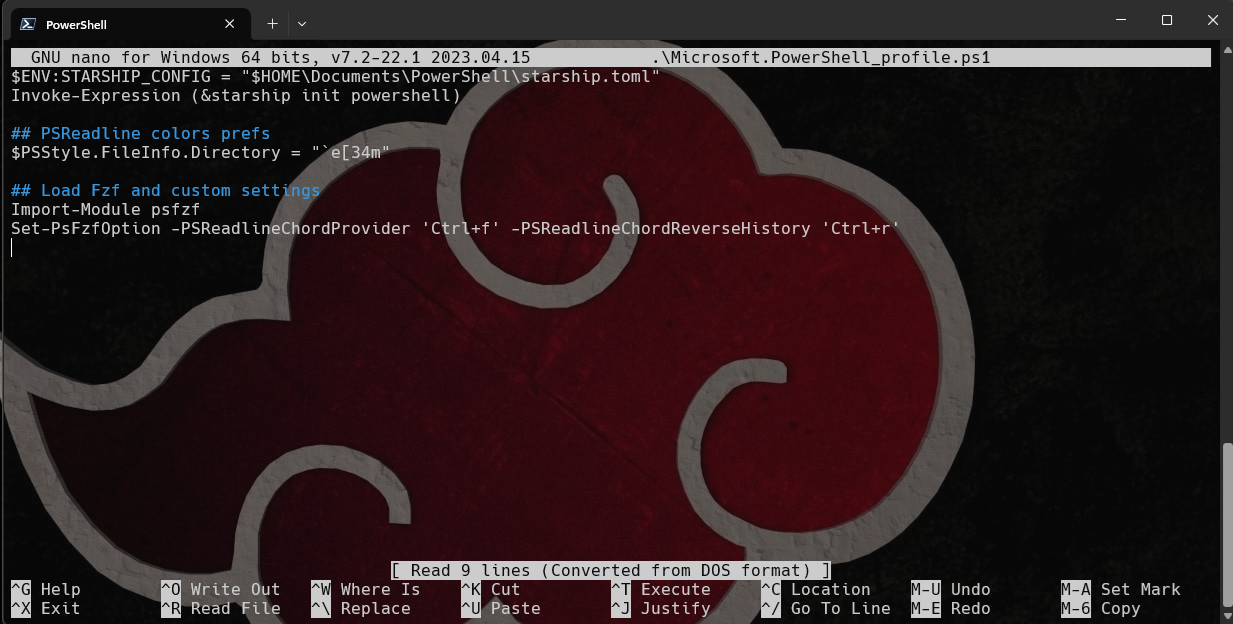
Go back to the PowerShell rc file and make sure it looks like the following:
# Starship Prompt
$ENV:STARSHIP_CONFIG = "$HOME\Documents\PowerShell\starship.toml"
Invoke-Expression (&starship init powershell)

# PSReadline
# (You shouldn't have to load this.) import-Module PSReadline
#Set-PSReadlineOption -EditMode Emacs
#Set-PSReadlineOption -BellStyle None
#Set-PSReadlineKeyHandler -Chord 'Ctrl+d' -Function DeleteChar
Set-PSReadlineOption -PredictionSource History
Set-PSReadlineOption -PredictionViewStyle ListView

# Fzf
Import-Module psfzf
Set-PsFzfOption -PSReadlineChordProvider 'Ctrl+f' -PSReadlineChordReverseHistory 'Ctrl+r'
 Open up PowerShell and test out Fzf by pressing Ctr+f or Ctr+r.
Clink is very much similar to PSReadline but made specifically to work with the Windows Command Prompt. Just like PSReadline it provides the Readline library features and capabilities to allow Fzf to function.
Install the latest version of Clink with PowerShell:
>scoop install clink clink-completions
Installing 'clink' (1.8.5) [64bit] from 'main' bucket
Starting download with aria2 ...
Download: Download Results:
Download: gid   |stat|avg speed  |path/URI
Download: ======+====+===========+=======================================================
Download: 594c60|OK  |   1.2MiB/s|C:/Users/Stage/scoop/cache/clink#1.8.5#f290466.zip
Download: Status Legend:
Download: (OK):download completed.
Checking hash of clink.1.8.5.89b0f1.zip ... ok.
Extracting clink.1.8.5.89b0f1.zip ... done.
Linking ~\scoop\apps\clink\current => ~\scoop\apps\clink\1.8.5
Creating shim for 'clink'.
'clink' (1.8.5) was installed successfully!
Notes
-----
Run 'clink inject' to start clink on the current cmd
Run 'clink autorun install' to auto start clink
Installing 'clink-completions' (0.6.6) [64bit] from 'main' bucket
Starting download with aria2 ...
Download: Download Results:
Download: gid   |stat|avg speed  |path/URI
Download: ======+====+===========+=======================================================
Download: 7e1170|OK  |    86KiB/s|C:/Users/Stage/scoop/cache/clink-completions#0.6.6#cc5dcf1.zip
Download: Status Legend:
Download: (OK):download completed.
Checking hash of v0.6.6.zip ... ok.
Extracting v0.6.6.zip ... done.
Running installer script...Script path 'C:\Users\Stage\scoop\apps\clink-completions\current' installed.
done.
Linking ~\scoop\apps\clink-completions\current => ~\scoop\apps\clink-completions\0.6.6
'clink-completions' (0.6.6) was installed successfully!
Open up a Windows Command prompt and enter the following commands:
>clink inject
Clink v1.8.5.89b0f1
Copyright (c) 2012-2018 Martin Ridgers
Portions Copyright (c) 2020-2025 Christopher Antos
https://github.com/chrisant996/clink

>clink autorun install
Current AutoRun values

  Current user:

    native : "C:\Users\Stage\scoop\apps\clink\current\clink.bat" inject --autorun

  All users:

    native :
     wow64 :

Clink successfully installed to run when cmd.exe starts (for current user).
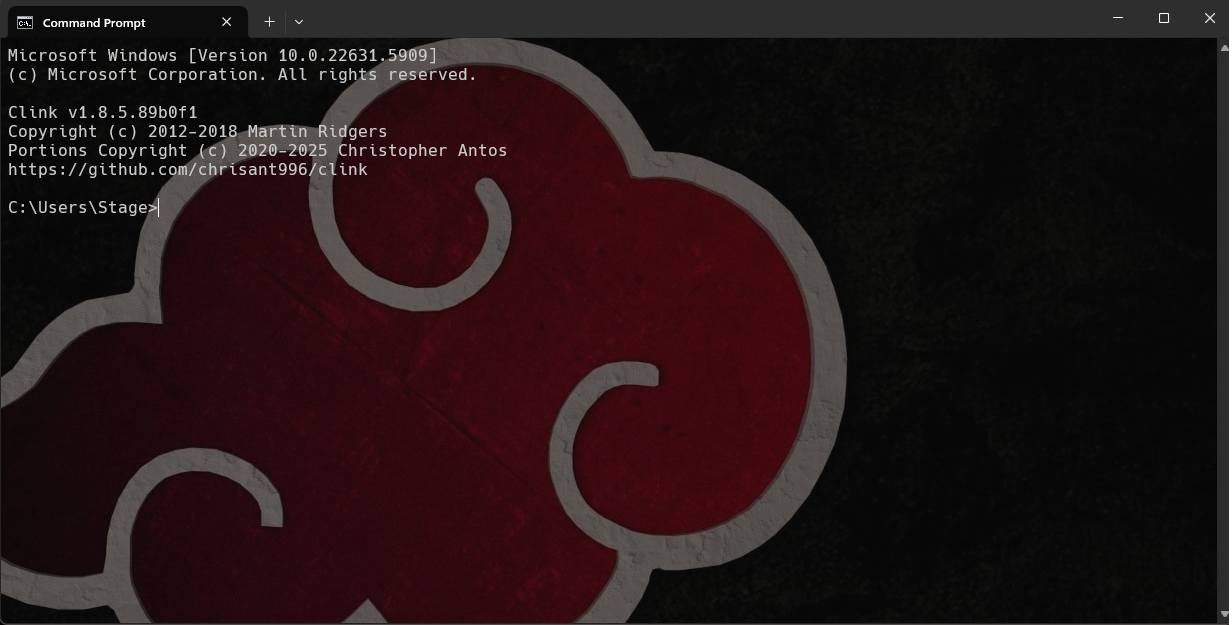 Close and open the Windows Command prompt and you should now see the Clink startup banner.
Every once in a while a new version of Clink will be released. Whenever you launch the Command Prompt a notification will be shown if a new release is available. It should prompt you to update by running "clink update" or you can check anytime by running that same command.
Open up your favorite text editor again, copy and paste the following code. Save the text file as "starship.lua" to Clink's configuration directory "%LOCALAPPDATA%\clink" or "%USERPROFILE%\AppData\Local\clink".
load(io.popen('starship init cmd'):read("*a"))()
Copy your Starship config file (starship.toml) you used for PowerShell before and save it to this same clink directory.
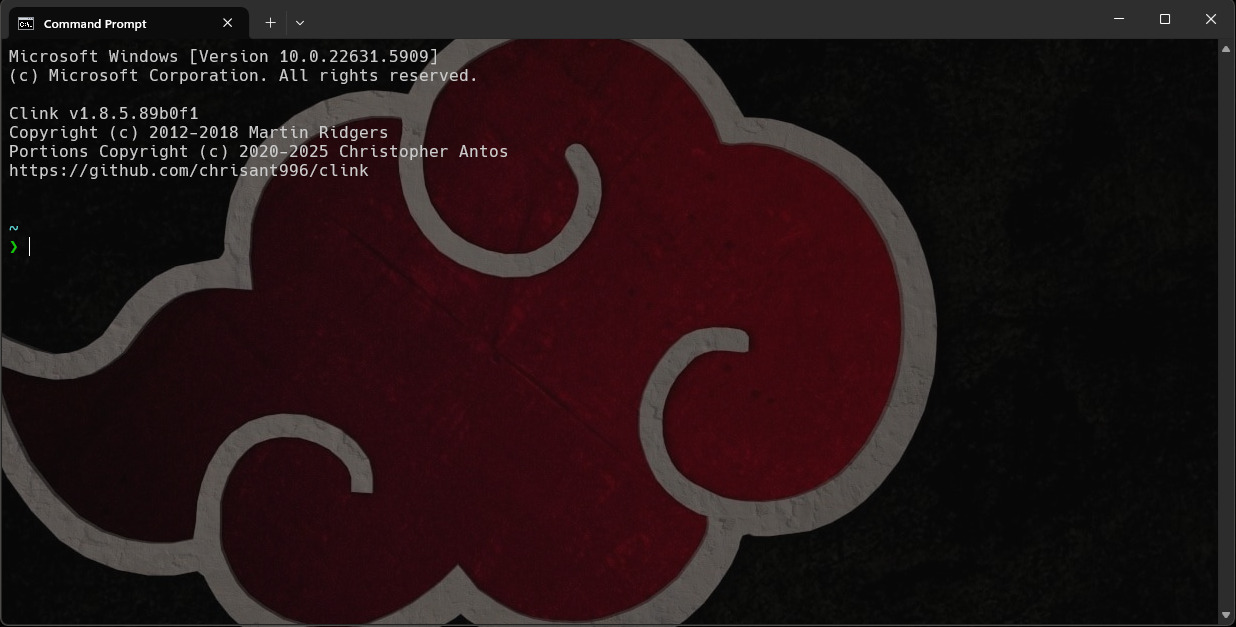 Open up the Windows Command prompt and you should now see the Starship prompt. Congratulations!
We've already installed Fzf from the previous step, now we just need to copy the fzf.lua file from Fzf github page to clink's config directory.
Goto https://github.com/chrisant996/clink-fzf and download fzf.lua
Then copy that file into "%LOCALAPPDATA%\clink" directory.
Close and open the Windows Command prompt again, enter the following command:
>clink set fzf.default_bindings true
Setting 'fzf.default_bindings' set to 'True'
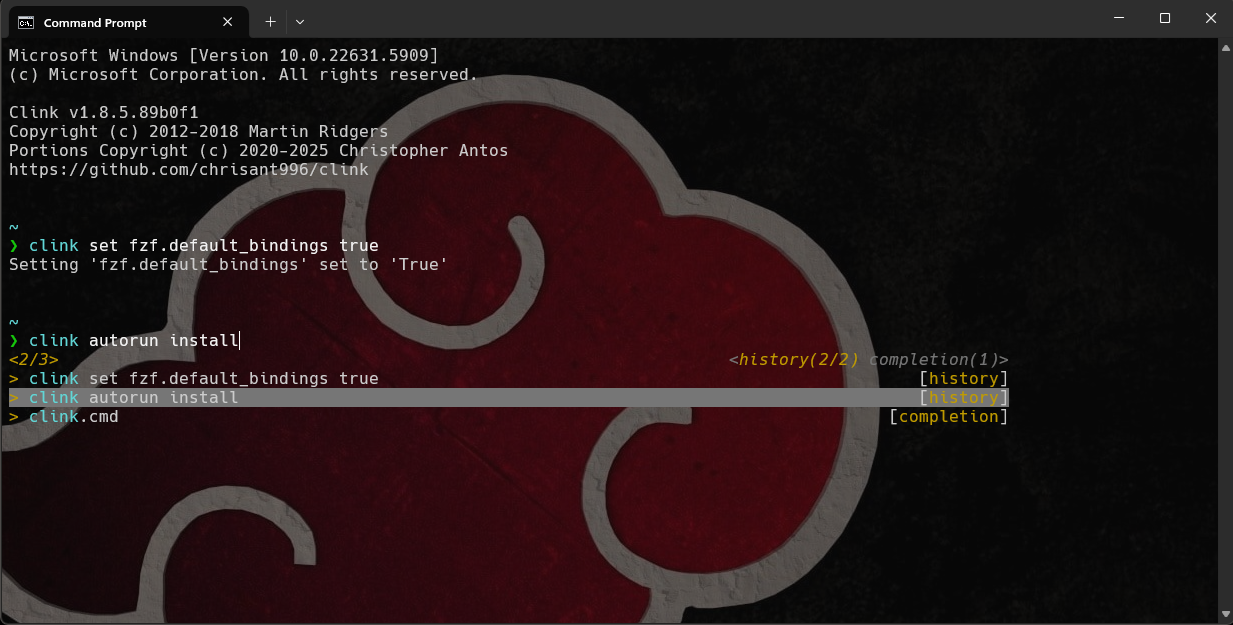 Press Ctr+f \ F2 or Ctr+r to test Fzf search function. Congratulations!
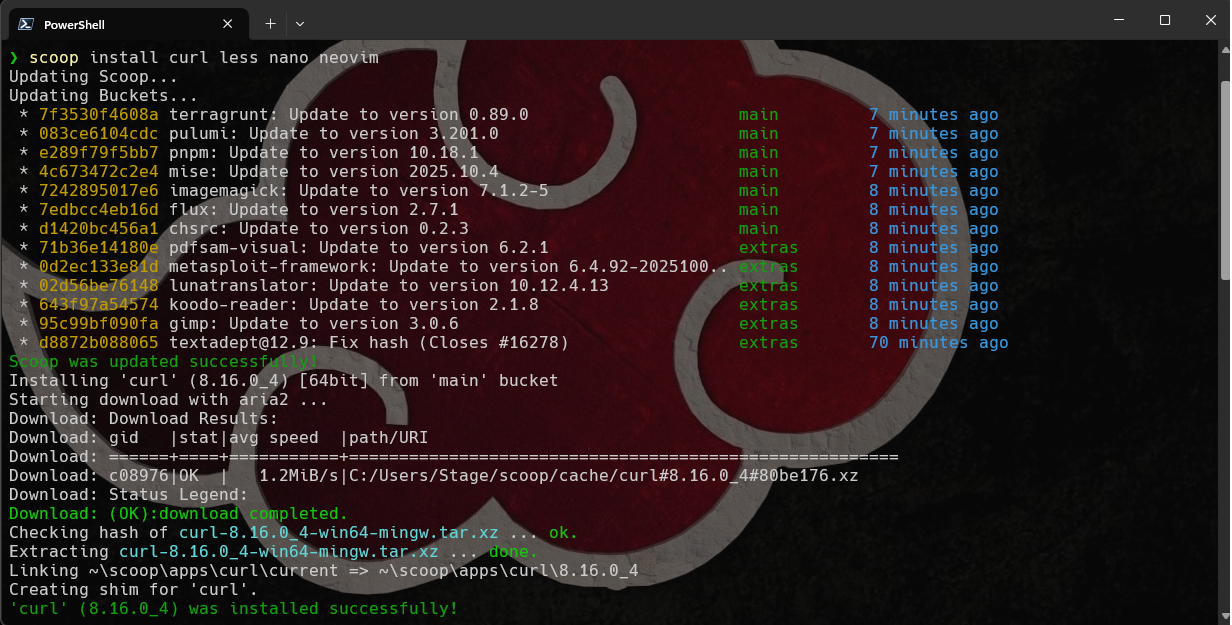
>scoop install curl sudo less nano neovim winfetch
Install Git and add Unix tools to your path:
>winget install -e --id Git.Git
Now open up the PowerShell rc file (%USERPROFILE%\Documents\PowerShell\Microsoft.PowerShell_profile.ps1) in your text editor and add the following lines:
# Add Git Unix tools to path
$ENV:PATH="$ENV:PATH;C:\Program Files\Git\usr\bin"

# Optional aliases
Function lsexe {ls.exe --color --group-directories-first --classify}

Set-Alias l lsexe
Set-Alias grep findstr
Set-Alias vim nvim
You can add icons to file types whenever you use ls or dir using Terminal Icons.
>Install-Module -Name Terminal-Icons -Repository PSGallery -Force
>Import-Module Terminal-Icons
To make the Icons persistant just edit the PowerShell rc file and add "Import-Module Terminal-Icons".
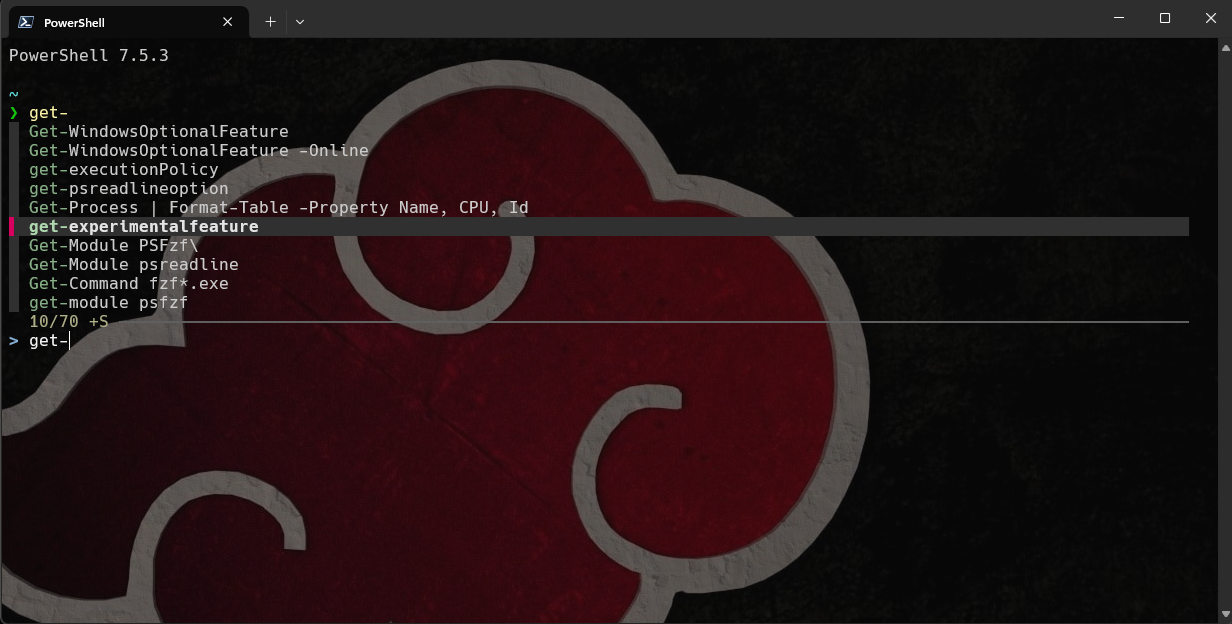
With the latest versions (and Preview versions) of PowerShell you have the ability to enable and test experimental features. To list these features run the following code:
>Get-ExperimentalFeature
If you see a particular feature you'd like to test run Enable-ExperimentalFeature . Eg:
>Enable-ExperimentalFeature PSCommandNotFoundSuggestion
Starship Official Website
Githubs
- https://github.com/ryanoasis/nerd-fonts
- https://github.com/ScoopInstaller/Scoop
- https://github.com/junegunn/fzf/wiki/Windows
- https://github.com/kelleyma49/PSFzf#psreadline-integration
- https://github.com/chrisant996/clink
- https://github.com/chrisant996/clink-fzf
How to set up PowerShell prompt with Oh My Posh on Windows 11