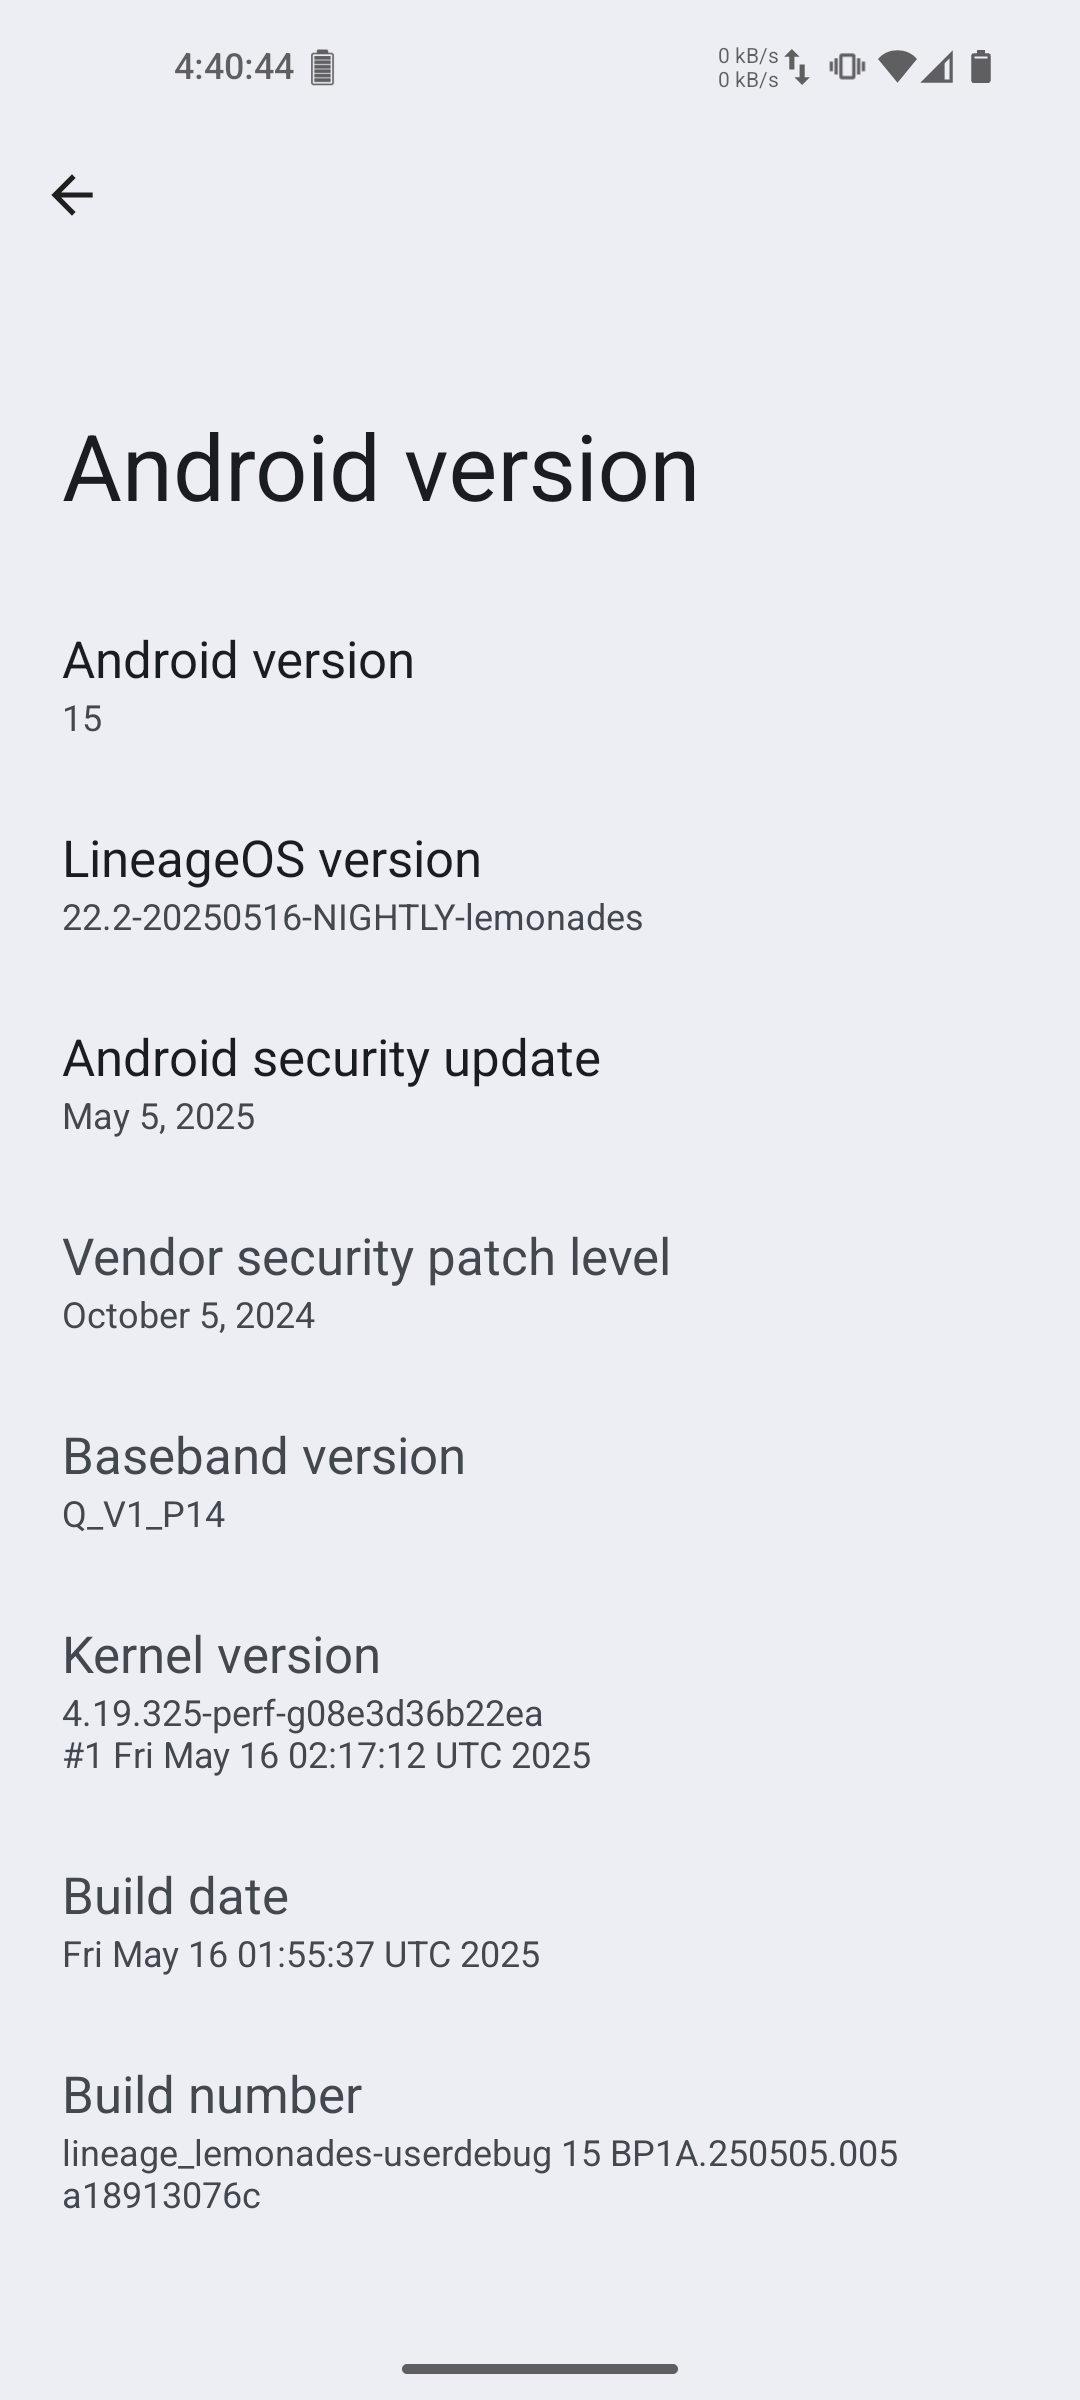
Installing LineageOS + microG with Working SMS/Geolocation and Passing PlayIntegrity Without Google Accounts
This guide documents the process of installing LineageOS with microG and passing PlayIntegrity without logging into any Google accounts. It also ensures SMS and GPS functionality while maintaining privacy.
- A device compatible with LineageOS.
- Familiarity with unlocking bootloaders, flashing custom ROMs, and using terminal commands.
- Backup your data before proceeding.
-
Install LineageOS for Your Device
- Follow the official LineageOS installation guide for your device.
- Ensure your device boots successfully into LineageOS.
-
Install F-Droid
- Download and install F-Droid, the open-source app store for Android.
-
Add and Install microG Repositories and Apps
- Add the microG repositories to F-Droid by following this guide.
- Install the following microG components:
- microG Services Core
- microG Settings (companion app)
- microG Services Framework Proxy (This might not install due to being outdated; we resolve this in step 5.)
-
Install Kitsune Magisk
- Download and install Kitsune Magisk (fork) from 1q23lyc45's GitHub.
- Enable all features in Kitsune Magisk, such as Zygisk and MagiskHide, except for "Enforcing Sulist" (this may cause issues).
-
Install microG Installer Revived
- Install microG Installer Revived to obtain Google Services Framework (GSF), required for SMS functionality.
- If the installer fails, either:
- Wait for an update.
- Modify the
customize.shscript in the installer to bypass version checks manually.
-
Install Nominatim for GPS Functionality
- Install Nominatim from F-Droid. This tool resolves GPS data for microG.
- Enable Nominatim in the Location section of the microG settings.
- In the same section, enable relevant options for:
- Wi-Fi localization
- Cellular localization
Adjust these settings based on your privacy preferences.
- Modify the Kernel Name
- Use the kr_offset.sh script to change your kernel name to something unique (e.g., "bushcat"):
./kr_offset.sh --auto --patch "bushcat"- Reboot your device after running the script.
- Verify the kernel name change using a terminal emulator or ADB:
The output should show the new kernel name.
uname -r
- Use the kr_offset.sh script to change your kernel name to something unique (e.g., "bushcat"):
Why Change the Kernel Name?
Google blacklists popular kernel names, causing PlayIntegrity to automatically fail on devices with these names. Changing the kernel name bypasses this blacklist.
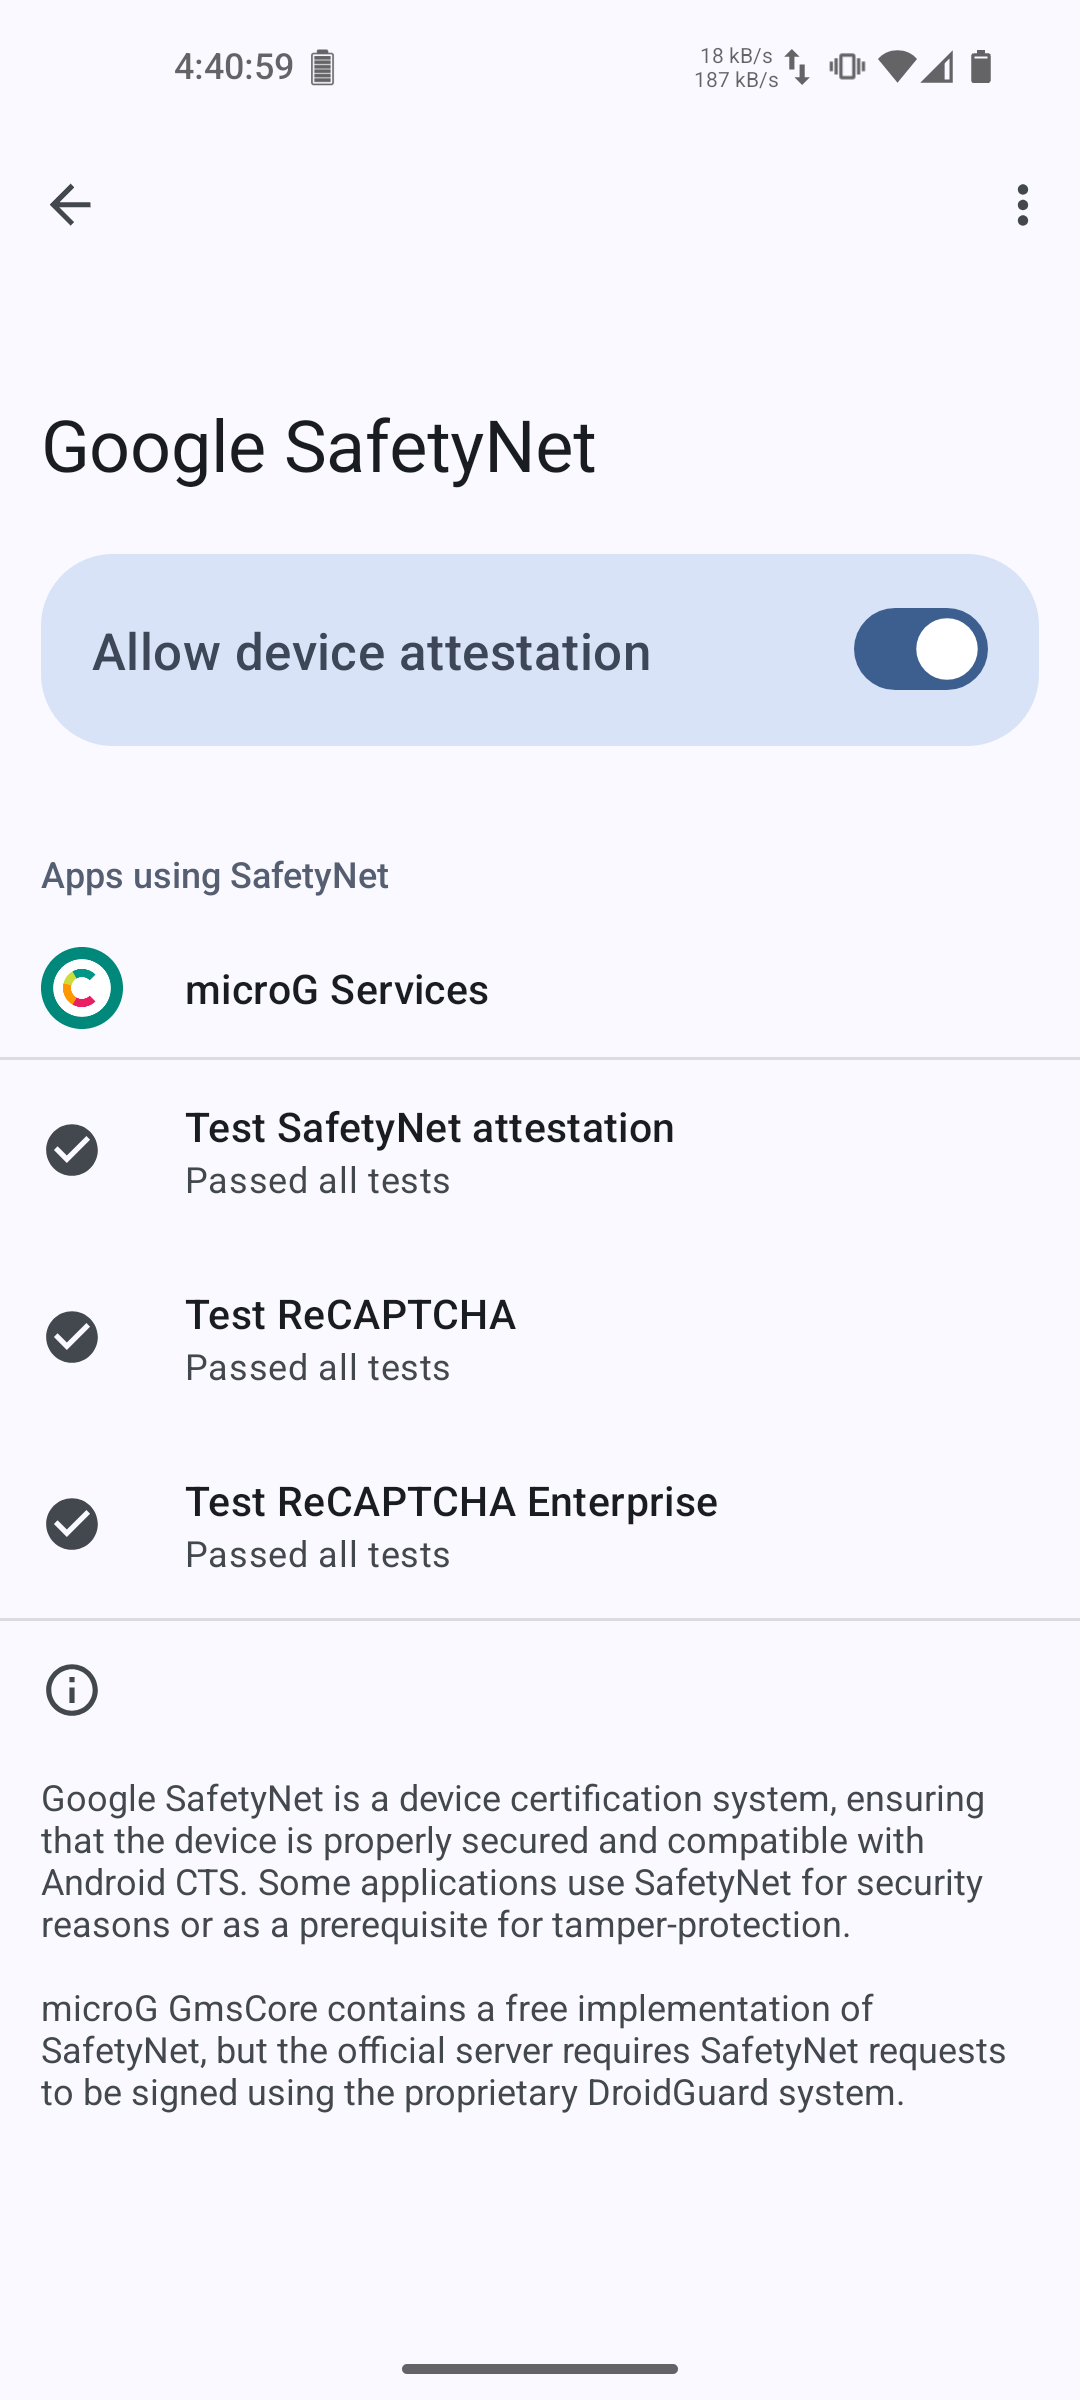
- Register Your Device in microG
- Use MagiskHide to hide root access from the microG Services Core app.
- Open the microG Settings app and register your device using the Device Registration feature.
Follow these steps to update your LineageOS installation while ensuring everything remains functional:
-
Download the new build and boot image
- Obtain the latest LineageOS build and its respective boot image for your device.
-
Patch the boot image
- Use Kitsune Magisk to patch the boot image.
- Copy the patched boot image back to your computer.
-
Reboot to recovery and sideload the new build
- Boot into recovery mode.
- Sideload the new build using the following command:
adb -d sideload filename.zip
-
Switch to the updated slot
- After sideloading, you will be prompted to reboot recovery to install additional zips.
- Accept this option even if you don’t plan to install additional zips. This ensures your device switches to the updated slot.
-
Flash the patched boot image
- Reboot to the bootloader (fastboot mode).
- Flash the patched boot image with the following command:
fastboot flash boot magisk_patched_boot.img
-
Reboot to system and verify the update
- Reboot your device into the system.
- Ensure the update was installed correctly and the system is functioning as expected.
-
Update the kernel name if necessary
- If required, change the kernel name as described in the earlier sections.
- Reboot your device after making this change.
-
Verify microG functionality
- Ensure microG is functioning correctly.
By following these steps, you can safely update your system while preserving your setup.
-
Install PlayIntegrityFork
- Download and install PlayIntegrityFork.
-
Install ReZygisk
- Download and install ReZygisk.
-
Install TrickyStore
- Download and install TrickyStore.
-
Install TrickyAddon
- Download and install TrickyAddon.
-
Install MMRL
- Download and install MMRL.
-
Install WebUI-X
- Download and install WebUI-X.
-
Reboot Device
-
Configure TrickyStore
- Launch TrickyStore module from inside the MMRL app.
- Enter the TrickyStore module configuration from inside the WebUI-X app.
- Tap ☰ icon and select
Allfrom the menu. - Tap
Set valid keybox. - Tap
Set security patchand chooseSet to auto. - Tap
Save.
-
Generate a new PIF Config
- Open a terminal session on your device and obtain sudo rights by typing
suand granting permissions. - cd to the following directory
/data/adb/modules/playintegrityfix. - Execute the following command
sh autopif2.sh -s -pto crawl the Android Platform Preview builds for unrevoked pixel PIF configurations.
- Open a terminal session on your device and obtain sudo rights by typing
-
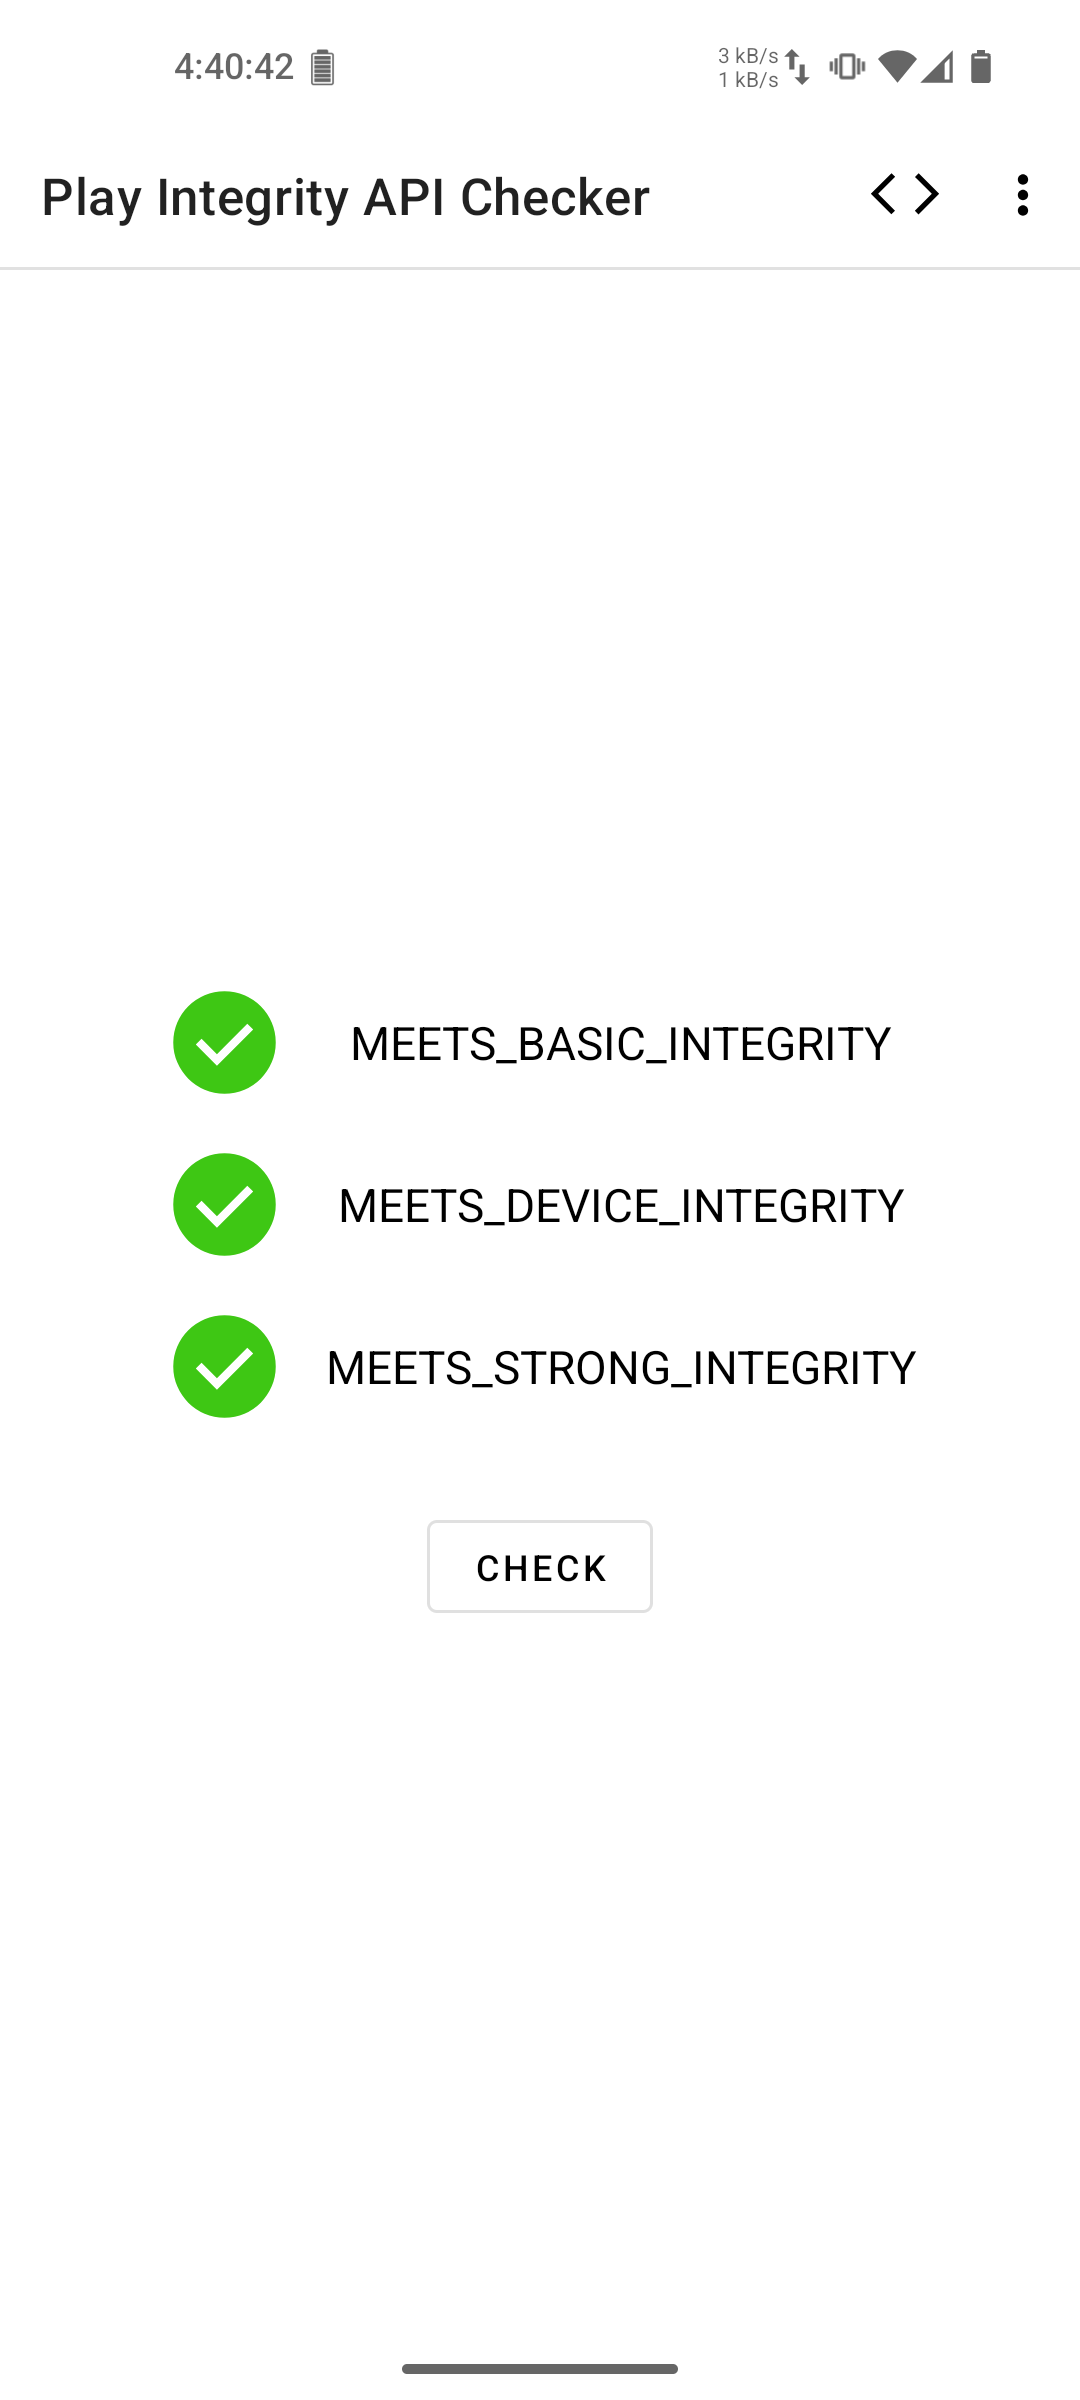
Profit?
- Check if your device now passes all Play Integrity tests. If not, consult the PlayIntegrityFork github page for more advanced options to generate PIF configurations.
- If you're still failing Strong Integrity, then it's likely that your keybox got invalidated, in this case you need to set a new one as per the previous step.
- You generally need to generate a new PIF configuration every week or so as Google tends to invalidate older ones. This is the only true hassle of using this setup.
- Credits go to 306bobby for his wonderful guide on bypassing PlayIntegrity checks!
-
To maintain privacy and avoid Google accounts, consider using the following FOSS apps and services:
Browser: IronFox or Cromite
Email: Thunderbird
Messaging: Element
Navigation: Organic Maps or OsmAnd+
App Store: Aurora Store for downloading apps from the Play Store anonymously.
Feel free to explore F-Droid for more free and open-source applications.
If PlayIntegrity fails:
Ensure all modules and microG components are installed correctly.
Reboot your device and try the tests again.
Check for updates to any of the tools or scripts.
Verify that the kernel name has been changed successfully.
If all else fails, seek help on relevant forums or communities.
Hi
Some links looks death :
thanks